Affiliate Disclaimer
As an Amazon Associate, we earn from qualifying purchases.
How to calibrate studio monitors to ensure impeccable sound accuracy and quality in your audio productions.
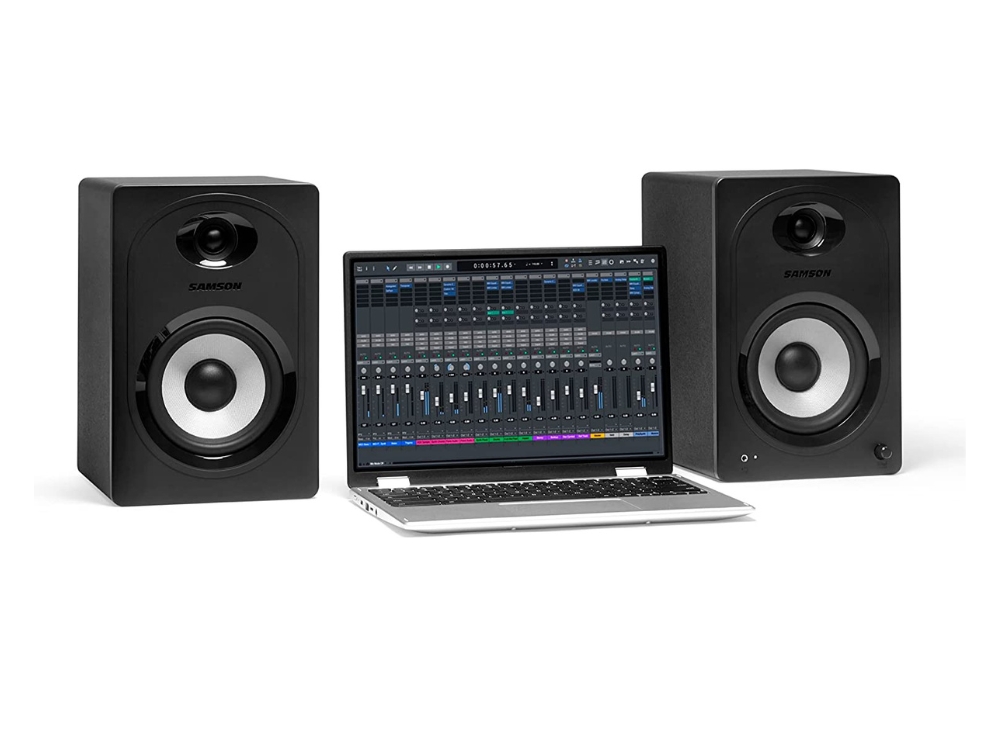
Studio monitors play a vital role in the production of high-quality audio. These specialized speakers are designed to provide accurate sound reproduction, enabling audio engineers and music producers to hear their recordings with utmost clarity and precision. However, to fully harness the potential of studio monitors, proper calibration is essential. In this comprehensive guide, we will explore the intricacies of calibrating studio monitors, providing step-by-step instructions and expert tips to help you achieve exceptional sound accuracy. So, let’s dive in and unlock the secrets to perfecting your audio monitoring setup!
Table of Contents
ToggleHow to Calibrate Studio Monitors?
Calibrating studio monitors might seem like a daunting task, but fear not! With the right knowledge and techniques, you can achieve remarkable sound accuracy in your studio environment. In this section, we will delve into the step-by-step process of calibrating your studio monitors effectively.
Step 1: Understanding Monitor Calibration
Before we begin the calibration process, it’s crucial to grasp the concept of monitor calibration. In simple terms, monitor calibration involves adjusting various parameters of your studio monitors to ensure the most accurate and faithful representation of audio playback. By calibrating your monitors, you eliminate potential discrepancies in frequency response, phase, and other factors that can affect sound accuracy.
Step 2: Setting Up the Listening Environment
Creating an optimal listening environment is fundamental to accurate monitor calibration. To set up your studio for precise monitoring, consider the following factors:
Room Acoustics: Take into account the size, shape, and materials of your studio space. Acoustic treatments, such as bass traps, diffusers, and absorbers, can help minimize unwanted reflections and resonances.
Speaker Placement: Position your studio monitors at an equal distance from the listening position, forming an equilateral triangle. Ensure that they are placed at ear level and angled toward your listening position for optimal sound projection.
Isolation: Use isolation pads or speaker stands to decouple your monitors from the surface they rest on. This reduces vibrations and prevents the transmission of unwanted resonance.
Step 3: Monitor Positioning and Angling
Proper monitor positioning and angling are critical for accurate sound reproduction. Follow these guidelines to optimize monitor placement:
Distance: Position your studio monitors so that the tweeters are at ear level when you are seated in the listening position. Maintain an equal distance between each monitor and your listening position for balanced sound imaging.
Toe-in: Slightly angle the monitors inward, aiming them directly at the listening position. This helps focus the sound towards your ears, enhancing stereo imaging and reducing reflections.
Step 4: Adjusting Monitor Controls
Most studio monitors feature built-in controls for adjusting various parameters. Here’s how to optimize these controls for accurate sound reproduction:
Volume Control: Set the monitor volume to a moderate level. Excessive volume can introduce distortion and mask subtle details, while low volume can impair accurate monitoring.
High-Frequency and Low-Frequency Adjustments: Use the monitor’s high-frequency and low-frequency controls to fine-tune the tonal balance. Make subtle adjustments to achieve a neutral sound reproduction without excessive brightness or muddiness.
Step 5: Room EQ and Monitor Calibration Software
To further enhance the accuracy of your monitor calibration, consider utilizing room equalization (EQ) and calibration software. These tools analyze the acoustic characteristics of your room and make real-time adjustments to compensate for any frequency response irregularities. Some popular software options include:
Sonarworks Reference: This software offers accurate calibration for a wide range of studio monitors, ensuring a flat frequency response and improved tonal balance.
DIRAC Live: Known for its advanced room correction capabilities, DIRAC Live enables precise calibration by analyzing your room’s acoustics and applying corrective measures.
By combining room EQ software with meticulous manual calibration, you can achieve exceptional sound accuracy that reflects your audio content’s true characteristics.
Step 6: Fine-Tuning and Listening Tests
After completing the initial calibration, it’s crucial to perform extensive listening tests to verify the accuracy of your calibration settings. Use professionally mixed and mastered reference tracks to evaluate the sound reproduction of your studio monitors. Pay attention to tonal balance, stereo imaging, and detail retrieval. Make small adjustments as necessary until you achieve the desired sound accuracy.
Frequently Asked Questions (FAQs)
Can I calibrate studio monitors without additional software or hardware?
Absolutely! While dedicated software and hardware tools provide advanced calibration capabilities, you can still achieve noticeable improvements in sound accuracy using manual calibration techniques and critical listening.
How often should I calibrate my studio monitors?
It’s recommended to recalibrate your studio monitors periodically or whenever you make significant changes to your studio setup. Factors such as room acoustics, speaker positioning, and equipment alterations can affect sound accuracy over time.
What are some common mistakes to avoid during monitor calibration?
Neglecting room acoustics: Failing to address room reflections and resonances can compromise sound accuracy.
Over-adjusting monitor controls: Making excessive adjustments to tone controls can result in an unbalanced sound.
Ignoring the listening environment: Ensure your studio space is well-treated acoustically to achieve optimal monitoring conditions.
Can I use room EQ software as a standalone solution for monitor calibration?
While room EQ software can significantly improve sound accuracy, it is best used in conjunction with manual calibration techniques. Combining both approaches ensures comprehensive monitoring optimization.
Are there any free monitor calibration software options available?
Yes, several free and open-source monitor calibration software options exist, such as Room EQ Wizard and Equalizer APO. These tools provide basic calibration capabilities and can be a good starting point for beginners.
Can I use headphones for monitor calibration?
While headphones offer a different monitoring experience, they can be used for preliminary calibration. However, due to the nature of headphone listening, it’s important to cross-reference your calibration settings using studio monitors to ensure accurate sound reproduction.
Conclusion
Calibrating studio monitors is a crucial step toward achieving accurate sound reproduction in your audio productions. By following the step-by-step techniques and expert tips outlined in this guide, you can optimize your studio monitoring setup and unlock the true potential of your studio monitors. Remember to consider room acoustics, speaker placement, and monitor controls during the calibration process. Regular listening tests and critical evaluation will help you fine-tune your settings for impeccable sound accuracy. So, put your newfound knowledge into practice and elevate your audio production to new heights!
Enhance Your Monitoring Experience: Must-Have Accessories for Studio Monitors
Automate Your Studio Monitor Shutdowns and Save Energy

Reduce Vibrations and Improve Sound Quality


